I just finished the Lady Liberty flag that I have been working on for my hubby. I started it around the beginning of December hoping to have it finished for Christmas and then when that didn't happen, I figured I could do it for his birthday in January. However, I became ill for almost 2 months and did not get back to it until February. I will say that an advantage to not having a deadline was that I was able to enjoy every part of making this project. It was nice not to feel hurried and to enjoy the process as it was intended.
Last year we stopped in at Mary Koval's Quilt Shop in Bedford PA. Mary has a lovely shop and if you love reproductions, this is a place you must see. We were lucky enough to find her there and visit a little bit with her. My hubby saw a sample of this flag on her wall and just loved it. Mary told us that her son had designed it and that the lady liberty was actually original fabric from the 1800's. She had everything for the quilt top included in a kit. Hubby said that he would really like the kit and he was planning on sewing it himself. For those of you that know me, you know that Rick (DH) does actually do quilting. So we purchased the kit, along with a number of must have fabrics for myself! Here is a link to Mary's website:
www.Marykovalantiquequilts.com
This is a close up of Lady Liberty.
Most of you know that Rick got a new job, which is why the shop closed and we moved to the Chicago area. Due to the change in jobs, Rick doesn't have much time to quilt. So I thought that I would surprise him and make it for him.
I did grid quilting on my machine and did hand quilting around the stars.
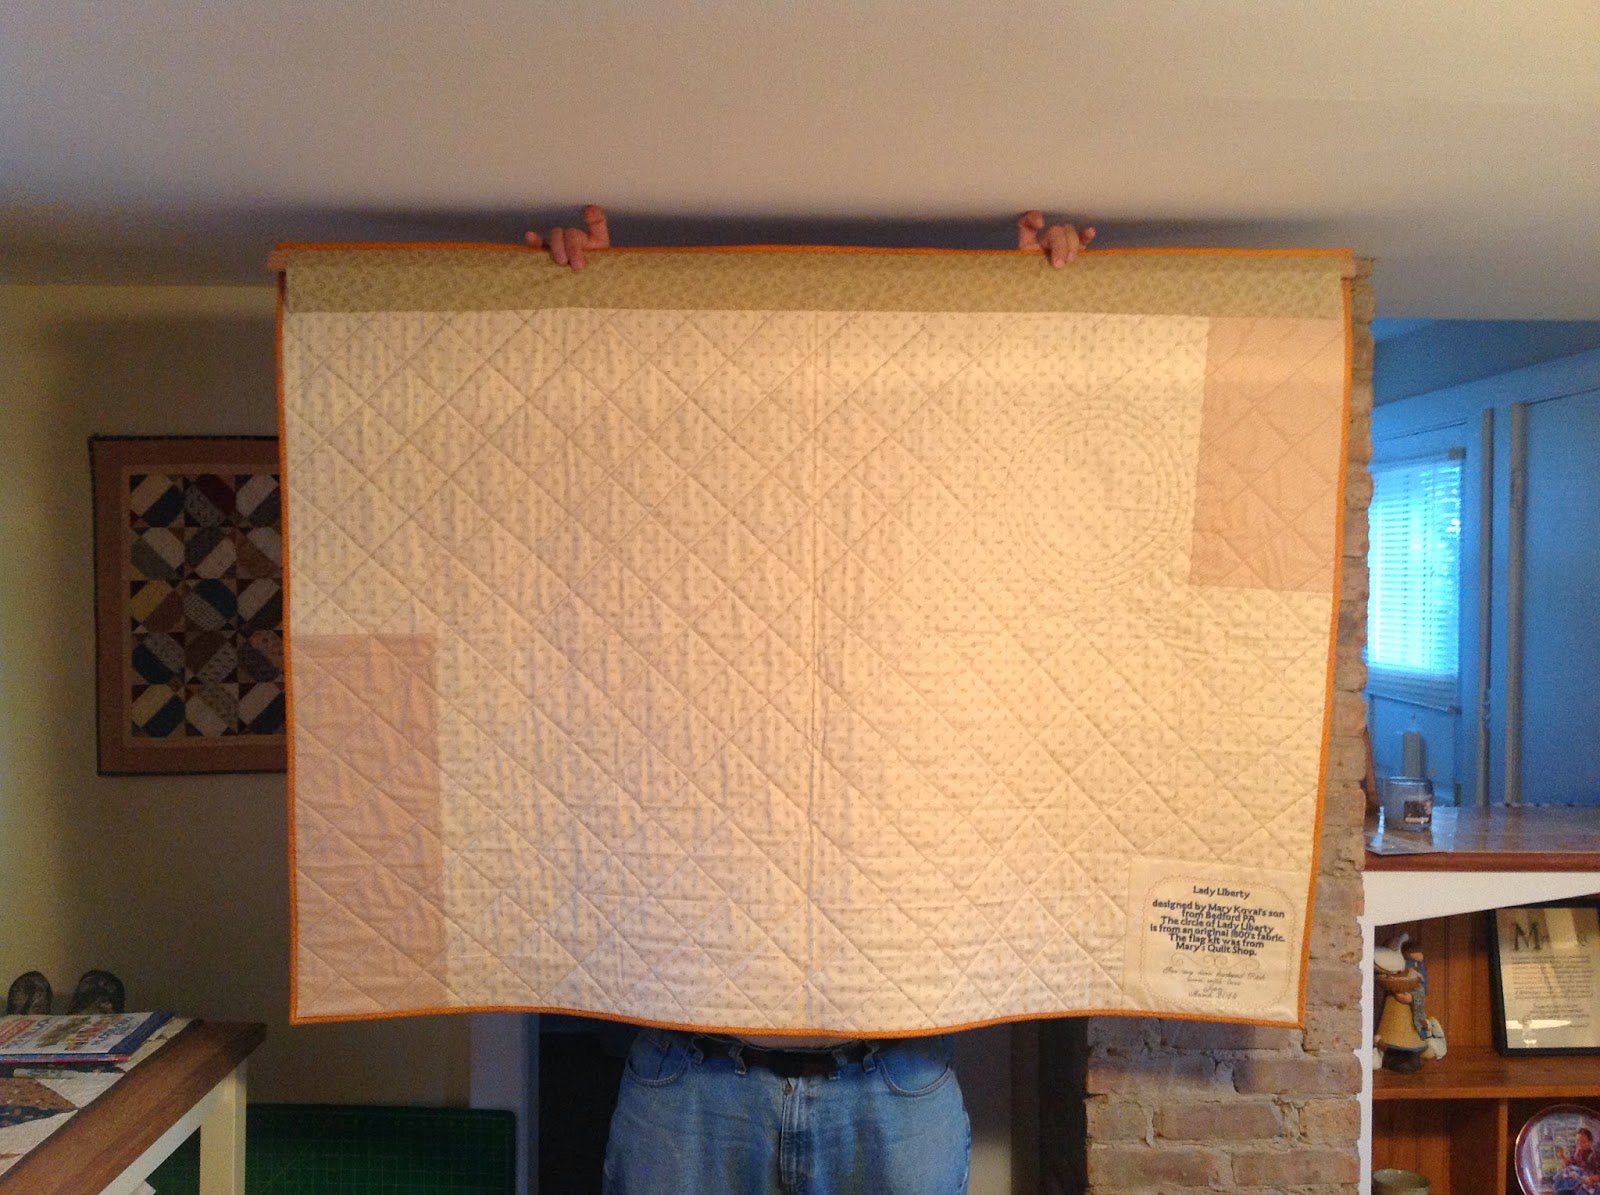
I decided that I would embroider a label for the back of the quilt. I had gotten a 5D quilt design creator program last year and had yet to open the box. Now was my opportunity. I really wanted to make a special label for it. Overall the process was pretty easy, except that the label was a lot larger than I had expected. It was too large to fit my largest embroidery hoop. So I went back into my program and redesigned it. Guess what? It was still too large! So then I thought, well, my embroidery machine can shrink the design down 25% and that should just be enough to fit in my hoop. So I loaded it up into the machine and guess what?!!! It only could shrink it 20%. Not quite enough! So it was back to the drawing board! I went into my program and really tweaked it until I got a manageable size. It worked! Success!
Now I just had to sew it out. I got the idea, that I would stitch out the label using cotton thread, so that it would be more in line with the reproduction fabric. However, it made so much lint! I am surprised that I had any thread left! Then I ran out of the blue thread and had to substitute something similar from my stash. Ok, I was ready to go again. Then when I was 21,000 stitches into the design, my machine just quit! Lights were on, but nothing was functional. Luckily I remembered to write down what stitch it stopped at, so that I could go back to it after the machine worked again. I had to turn it off and back on in order to proceed. I'm not sure if it overheated due to the lint or what happened, but it was fine the rest of the way. Let me just say that I could have written a label and sewed it on the quilt in a quarter of the time it took me to make this. However, I would not have learned as much or had the pleasure of knowing that I could do it! I'm very happy with how it turned out and I will definitely try it again.

I thought that I would share a picture of the back of this project too. Since I try to use whatever I have on hand, I thought that I would see what fabric I have for the backing. I love scrappy quilts and because of that I mainly collect small pieces. I knew that the chances of having a large enough piece would be slim. So sometimes, you just need to be a little creative. I pieces a different fabric in the corners and used a different fabric for the casing and Voila! It works.
I hope that you are all enjoying your process of making a wonderful project!
Happy Sewing,
Jean